

How do you integrate a payment gateway API?
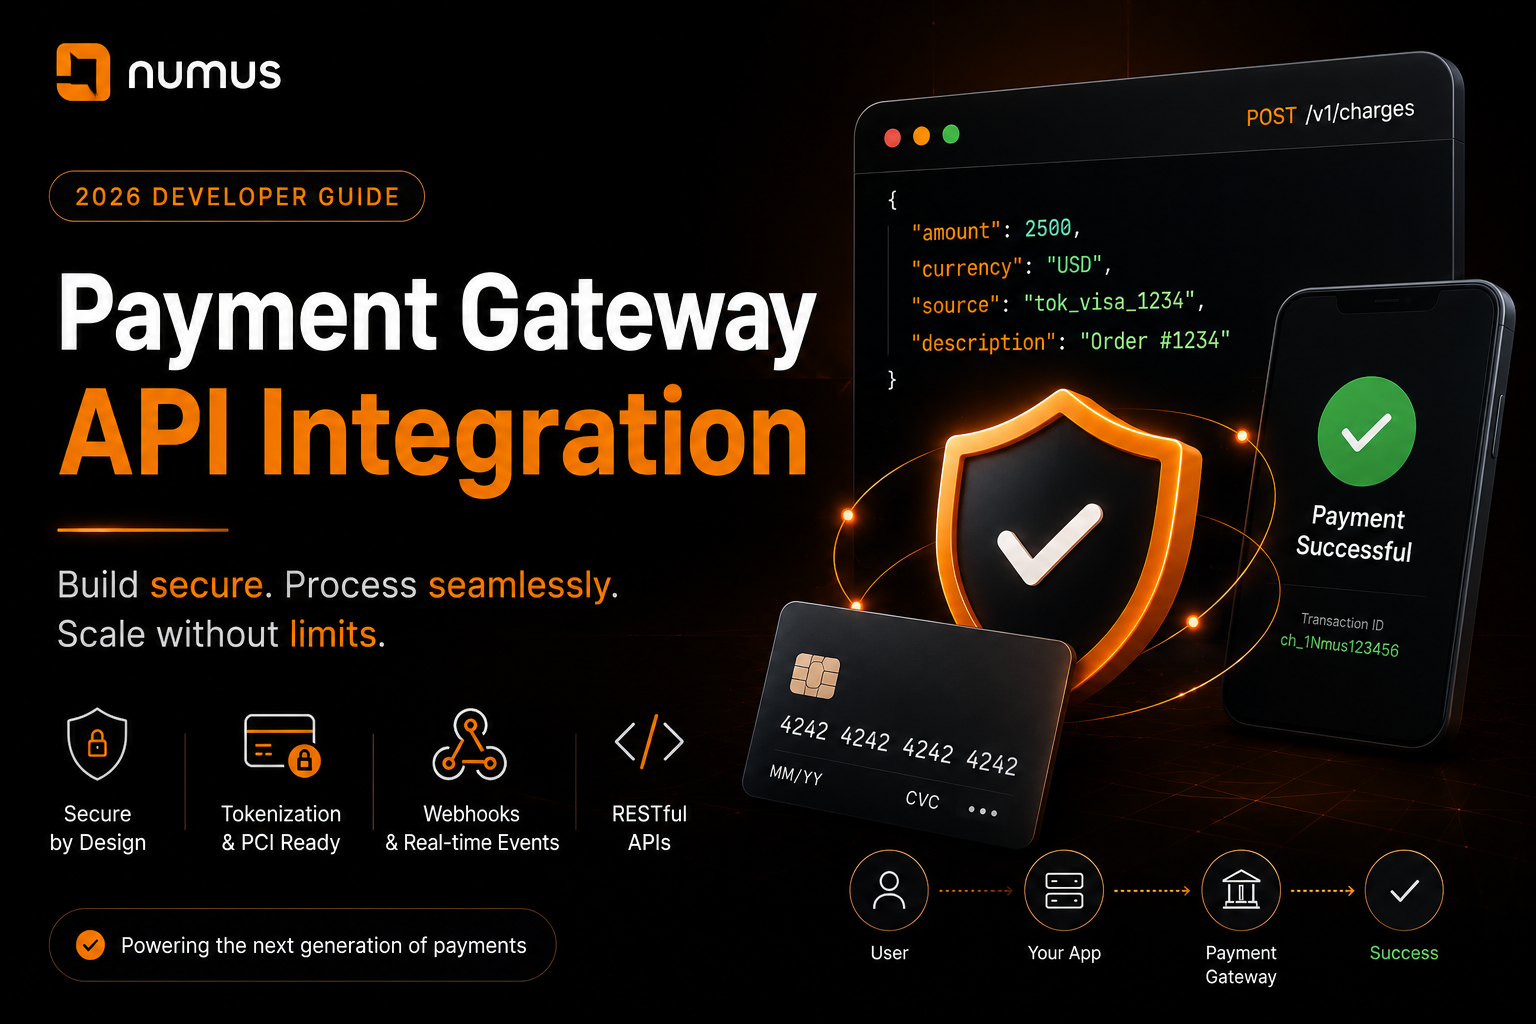
To integrate a payment gateway API, developers must authenticate with the gateway using secure API keys, construct a JSON or XML payload containing the transaction details (amount, currency, tokenized card data), and send a POST request to the gateway’s endpoint. The gateway processes the request and returns a response object indicating success or failure, which the application must then handle to update the Ul and database.
For modern software applications, SaaS platforms, and custom ecommerce builds, relying on pre-built plugins or hosted checkout pages is often insufficient. To achieve a truly seamless, branded user experience and to handle complex billing logic, developers must integrate directly with a payment gateway’s Application Programming Interface (API). This guide provides a technical overview of payment gateway API integration, covering authentication, tokenization, webhooks, and best practices for building a secure, scalable payment infrastructure.
Table of Contents
- How do you integrate a payment gateway API?
- Understanding the API Architecture
- Step 1: Authentication and Security
- Step 2: Client-Side Tokenization (Minimizing PCI Scope)
- Step 3: Server-Side Processing (The Charge Request)
- Step 4: Handling Webhooks (Asynchronous Events)
- Step 5: Error Handling and Edge Cases
- Frequently Asked Questions (FAQ)
Understanding the API Architecture
Most modern payment gateways (like Stripe, Braintree, NMI, and Authorize.Net) utilize RESTful (Representational State Transfer) APIs. They accept and return data in JSON (JavaScript Object Notation) format and use standard HTTP methods (POST, GET, PUT, DELETE) to perform actions.
A typical payment API integration involves three core components:
- The Client-Side (Frontend): The browser or mobile app where the user enters their payment information.
- The Server-Side (Backend): Your application server (Node.js, Python, Ruby, PHP) that securely communicates with the payment gateway.
- The Payment Gateway: The third-party service that processes the transaction.
Step 1: Authentication and Security
Security is the paramount concern when integrating a payment API. You must never expose your secret API keys to the public.
Gateways typically provide two sets of keys:
- Publishable Key (Public Key): Used on the client-side (frontend) to tokenize credit card data. It is safe to expose this key in your HTML or JavaScript.
- Secret Key (Private Key): Used on the server-side (backend) to execute actual charges, issue refunds, and manage subscriptions. This key must never be exposed in frontend code or committed to public version control repositories.
Authentication is usually handled via HTTP Basic Auth or Bearer Tokens in the authorization header of your server-side requests.
Step 2: Client-Side Tokenization (Minimizing PCI Scope)
The most critical rule of modern payment integration is: Never let raw credit card data touch your server.
If your server receives, processes, or stores raw PANs (Primary Account Numbers), you are subject to the highest level of PCI compliance (SAQ D), which requires expensive annual audits.
To avoid this, you must use client-side tokenization:
- The user enters their card details into a secure form on your frontend (often using pre-built Ul components provided by the gateway, like Stripe Elements or Braintree Drop-in).
- Your frontend uses the Publishable Key to send the raw card data directly from the user’s browser to the payment gateway.
- The gateway securely stores the card data and returns a single-use Token (e.g., tok_12345abcde) to your frontend.
- Your frontend submits this Token (along with the order details) to your backend server.
Your server now has a secure token representing the card, but it never saw the actual card number. Your PCI scope is drastically reduced (typically to SAQ A or SAQ A-EP).
Step 3: Server-Side Processing (The Charge Request)
Once your backend receives the token from the frontend, it must construct an API request to actually charge the card.
A typical POST request to a /charges or /transactions endpoint requires:
- Amount: The transaction amount (often specified in the smallest currency unit, e.g., cents. $10.00 is sent as 1000).
- Currency: The 3-letter ISO currency code (e.g., USD, EUR).
- Source/Payment Method: The token you received from the frontend.
- Description/Metadata: Optional data for your own tracking (e.g., Order ID, Customer ID).
Example Node.js/Express snippet (Conceptual): JavaScript
JavaScript

app.post('/process-payment', async (req, res) => {
    const { token, amount, orderId $\}=$ req.body; [cite: 44]
    try { [cite: 45]
        // Call the payment gateway API using your Secret Key
        const charge await paymentGateway.charges.create({
            amount: amount, // e.g., 2500 for \$25.00 [cite: 46]
            currency: 'usd', [cite: 47]
            source: token, [cite: 48]
            description: Order #\${orderId} [cite: 49]
        }); [cite: 50]
        // Handle success: Update database, send receipt [cite: 51]
        res.status(200).json({ success: true, chargeId: charge.id }); [cite: 52]
    } catch (error) { [cite: 53]
    } [cite: 54]
}); [cite: 55]
// Handle failure: Card declined, insufficient funds, etc. [cite: 56]
res.status(400).json({ success: false, error: error.message }); [cite: 57]
Step 4: Handling Webhooks (Asynchronous Events)
Not all payment events happen synchronously during the checkout flow. Many critical events happen asynchronously, hours or days later.
- A subscription payment succeeds or fails.
- A customer initiates a chargeback.
- A delayed bank transfer (like ACH or SEPA) finally clears.
To handle these events, you must implement Webhooks.
A webhook is an HTTP endpoint (a URL) on your server that you register with the payment gateway. When an asynchronous event occurs, the gateway sends a POST request containing the event data to your webhook URL.
Webhook Best Practices:
- Verify Signatures: Always verify the cryptographic signature of the webhook payload to ensure the request actually came from the payment gateway and not a malicious actor.
- Acknowledge Quickly: Return a 200 OK status immediately upon receiving the webhook, before processing the complex logic. If you take too long, the gateway may assume the delivery failed and retry the webhook, leading to duplicate processing.
- Idempotency: Design your webhook handler to be idempotent. If the gateway accidentally sends the same webhook twice, your system should recognize it has already processed that event and not, for example, credit the user’s account twice.
Step 5: Error Handling and Edge Cases
A robust integration must gracefully handle the myriad ways a payment can fail.
- Card Declines: The issuing bank declines the card (insufficient funds, expired card, suspected fraud). Your UI must display a clear, helpful error message to the user.
- Network Errors: The connection to the gateway times out. Implement retry logic with exponential backoff for transient network errors.
- Idempotency Keys: When making a charge request, always include an Idempotency Key (a unique string generated by your server for that specific request). If a network error occurs and you aren’t sure if the charge succeeded, you can safely retry the request with the same Idempotency Key. The gateway will recognize the key and ensure the customer is not charged twice.
Frequently Asked Questions (FAQ)
What is the difference between an API and a hosted checkout page?
A hosted checkout page redirects the user to a page managed by the gateway to collect payment. An API integration allows you to build the checkout form directly into your own application, providing complete control over the UI/UX, but requiring more development effort and careful handling of tokenization.
Can I use multiple payment gateway APIs?
Yes. This is called payment orchestration. Large platforms often integrate with multiple gateways (e.g., Stripe for US cards, Adyen for European methods) and route transactions dynamically based on cost, location, or uptime.
How do I test my API integration?
All major payment gateways provide a “Sandbox” or “Test” environment with a separate set of API keys. They also provide specific test credit card numbers that you can use to simulate successful charges, declines, and various error states without moving real money.